
Safe kitchen chemistry for kids
Baking soda and vinegar, red cabbage juice, milk and dish soap, cream that turns into butter. Safe kitchen experiments that show real changes, plus rules for doing them.

Magic milk color fireworks
You need: a plate with a rim, whole milk, food coloring in different colors, a cotton swab, dish soap
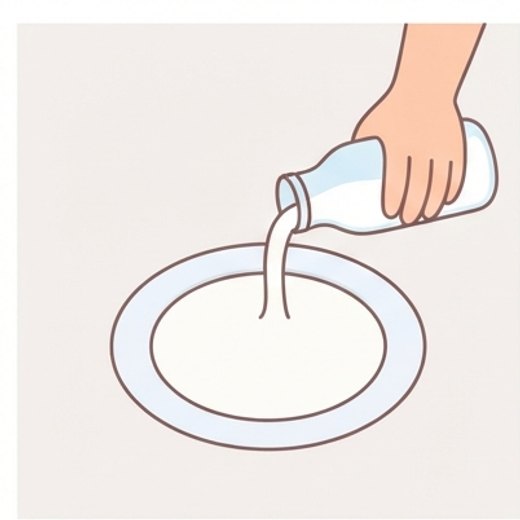
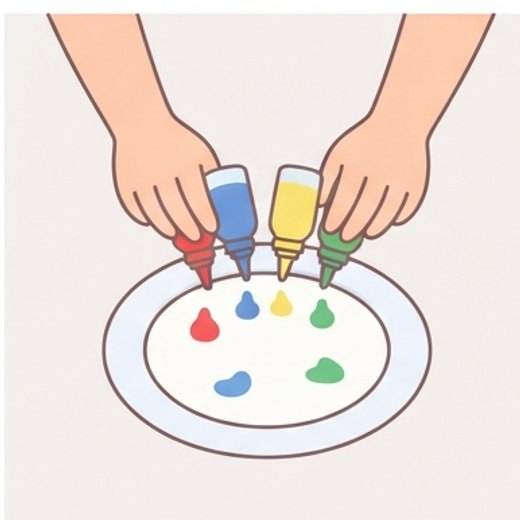
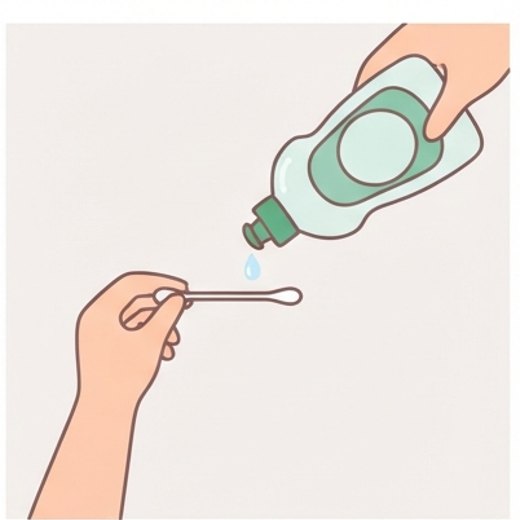
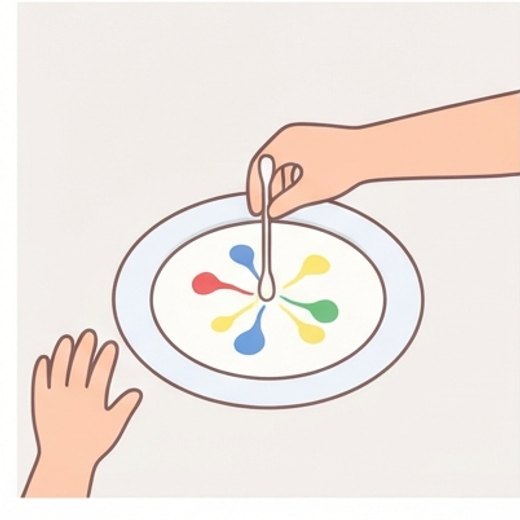
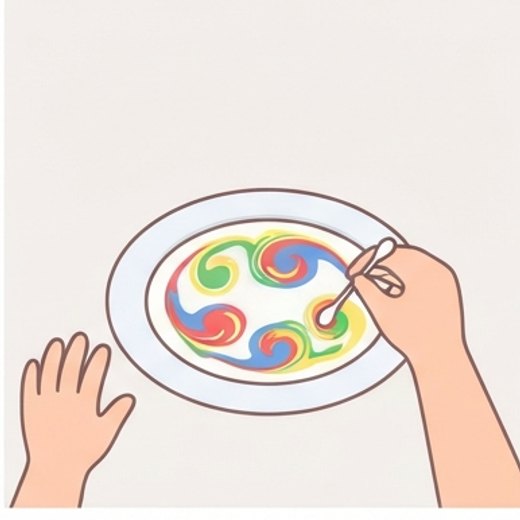


What happens: The colors rush apart and swirl like little whirlwinds, making a pattern. After a few minutes the movement calms down.
Why: The surface of the milk is held together by surface tension, and the coloring sits on top of it. Where the soap touches, it weakens the surface tension, and the stronger surface tension around it pulls the milk’s surface outward, carrying the color with it. Soap also grabs onto the fat in the milk, which keeps the colors swirling.
Safety: Do not drink the milk after the experiment. Keep dish soap away from eyes.
Try next: Try milk with different fat content, and water instead of milk. Where is the pattern best?

How do you make butter from cream?
You need: 200 ml (about 3/4 cup) cold heavy cream (heavy whipping cream, 33-35% fat), a 500 ml jar with a lid, a tiny pinch of salt, bread
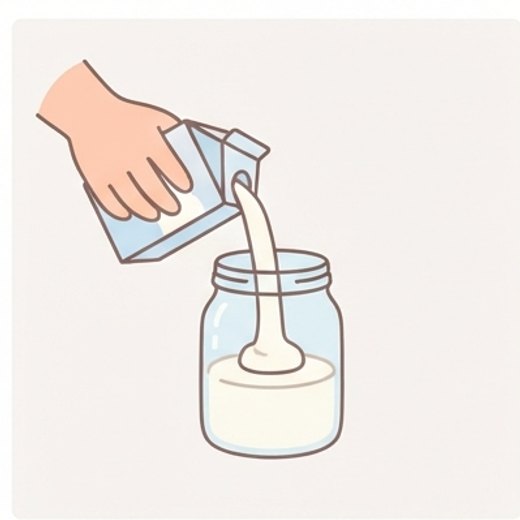
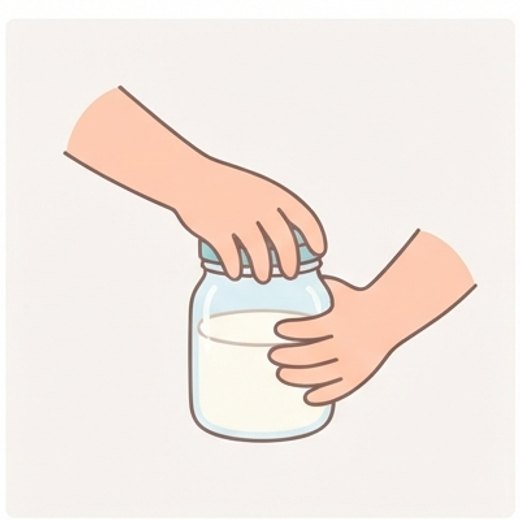
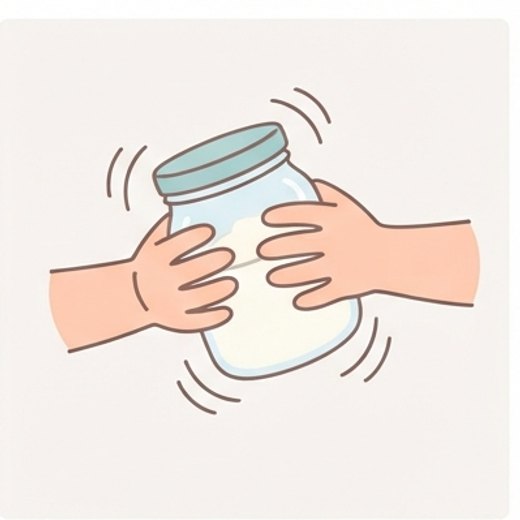
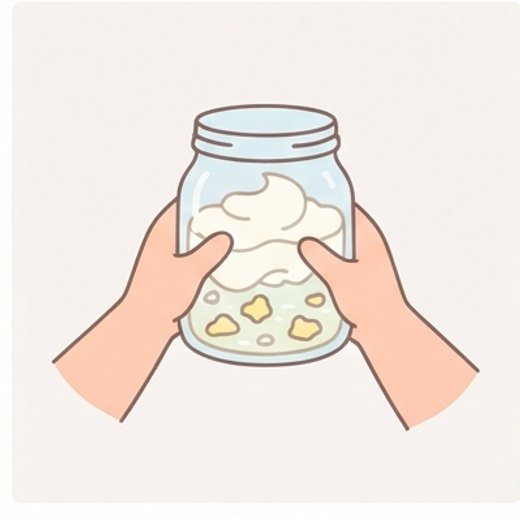
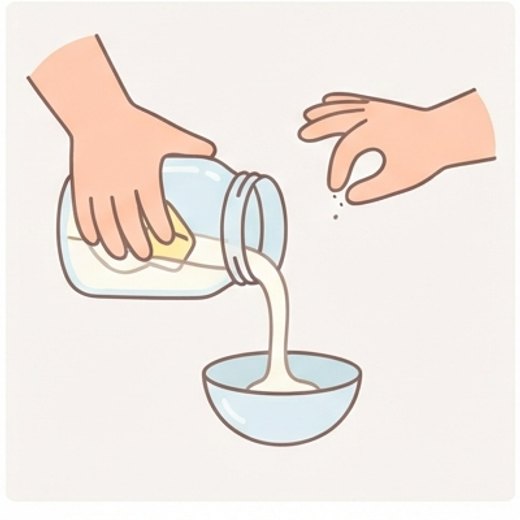


What happens: The liquid cream turns into whipped cream and then separates into a lump of butter and thin buttermilk.
Why: In cream, fat floats as tiny droplets, each wrapped in a thin coating. When you shake the jar, the droplets bump into each other, the coatings break, and the fat sticks together into bigger lumps. These lumps become butter, and the liquid stays separate.
Safety: Check that your child is not allergic to dairy. The jar must be tightly closed; a plastic one is safer.
Try next: Try warm cream or lower-fat cream: will you get butter? Why?

How do baking soda and vinegar blow up a balloon?
You need: a 16.9 oz (half-liter) plastic bottle, a balloon, 100 ml (about 1/2 cup) white vinegar, 2 teaspoons baking soda, a funnel
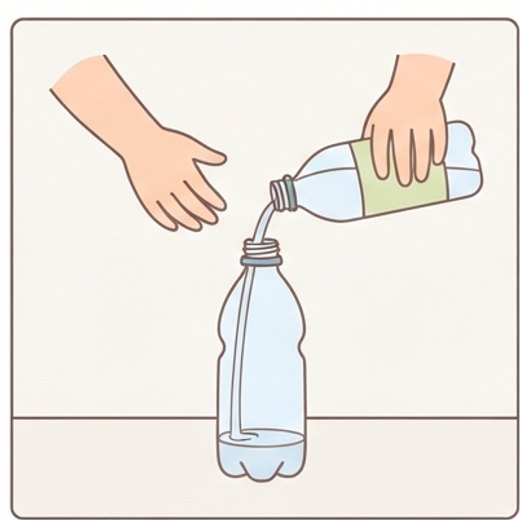
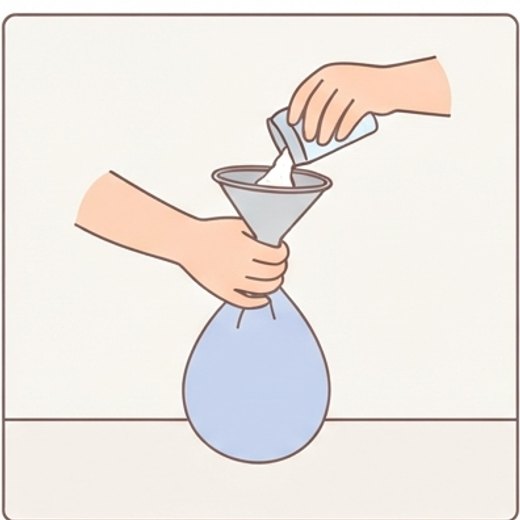
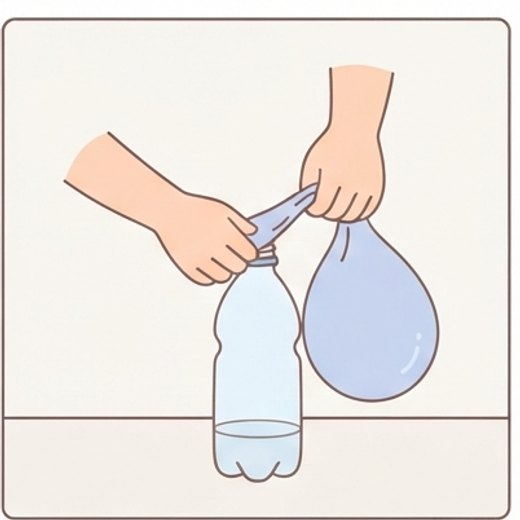
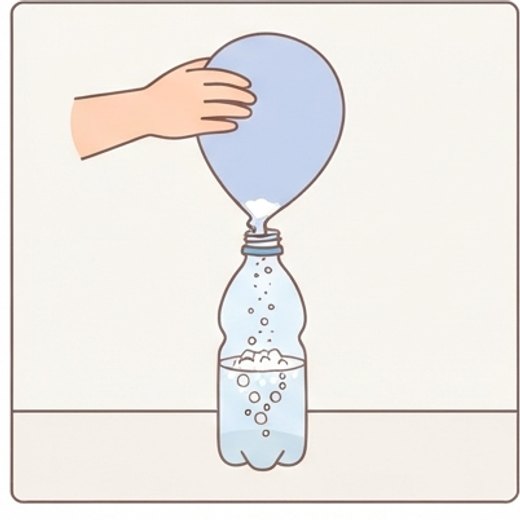
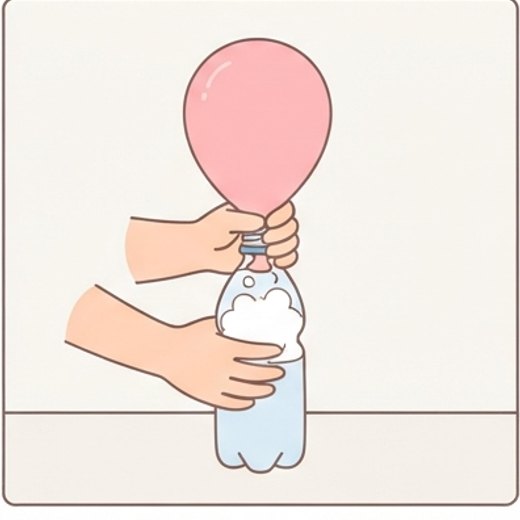


What happens: Bubbles fizz in the bottle, and the balloon inflates.
Why: Baking soda and vinegar react with each other and give off carbon dioxide gas, which fills the bottle and then the balloon. The reaction also makes water and sodium acetate, which stays in the liquid. The more of each ingredient, the bigger the balloon.
Safety: Keep vinegar out of eyes. Do not close the bottle with a cap, only with the balloon, and do not tilt it toward anyone’s face. An adult stays nearby.
Try next: Try different amounts of baking soda and compare which balloon gets bigger.

Red cabbage juice changes color
You need: a quarter of a red cabbage, a bowl, boiling water (an adult pours it), a strainer, 4 clear glasses, lemon juice, white vinegar, baking soda, a teaspoon
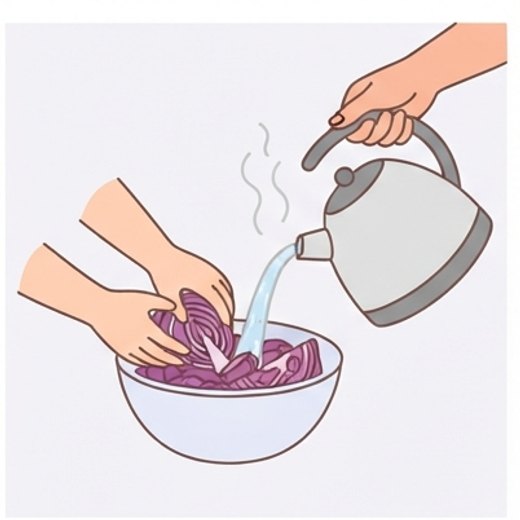
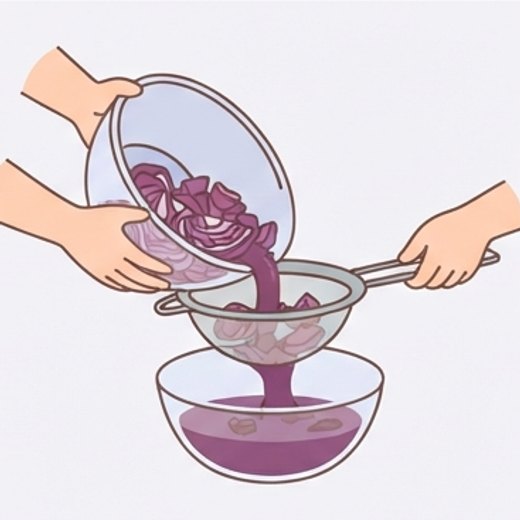
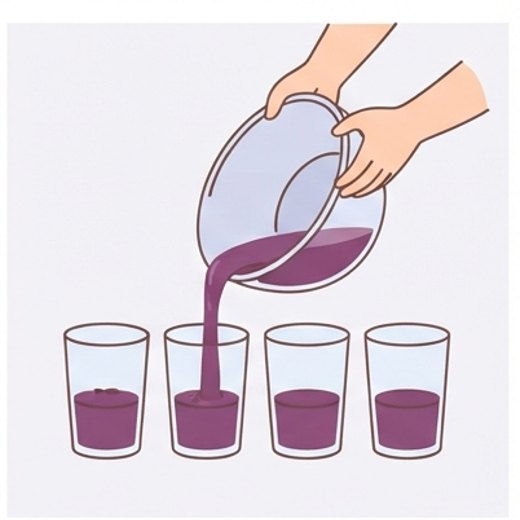
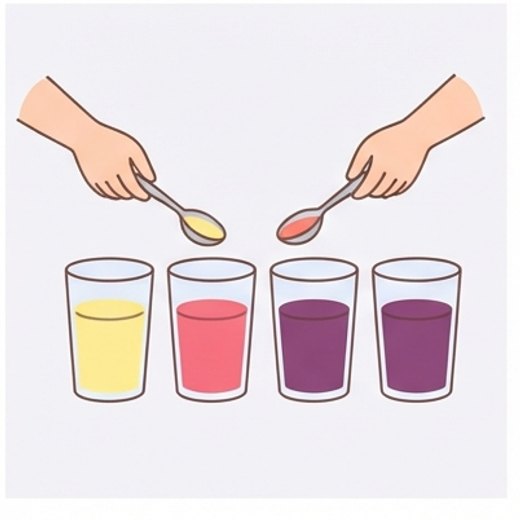
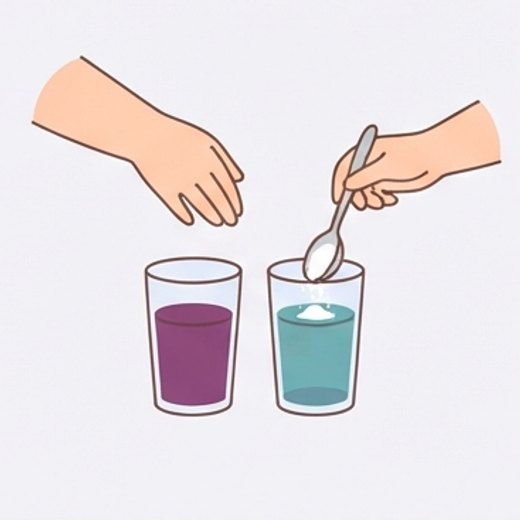


What happens: With acids (lemon, vinegar) the juice turns pink or red, the plain juice stays purple, and with baking soda it turns blue or green.
Why: Red cabbage contains a pigment called anthocyanin, which changes color depending on how acidic something is. In acids it is pink, in neutral liquids it is purple, and in bases it is blue-green. That is why this juice is called an indicator.
Safety: Only an adult uses the knife and pours the boiling water. Do not drink the mixtures, and protect your eyes.
Try next: Test dish soap, mineral water and tea. Which are acidic, and which are basic?

Oil and water lava lamp
You need: a tall clear jar, 300 ml (about 1 1/4 cups) vegetable oil, 100 ml (about 1/2 cup) water, food coloring, an effervescent tablet (for example, vitamin C)
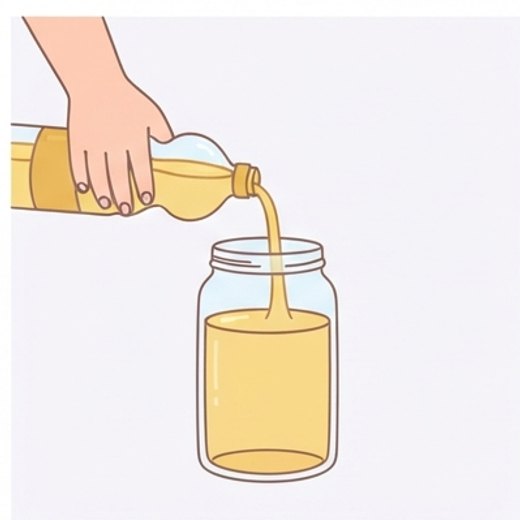
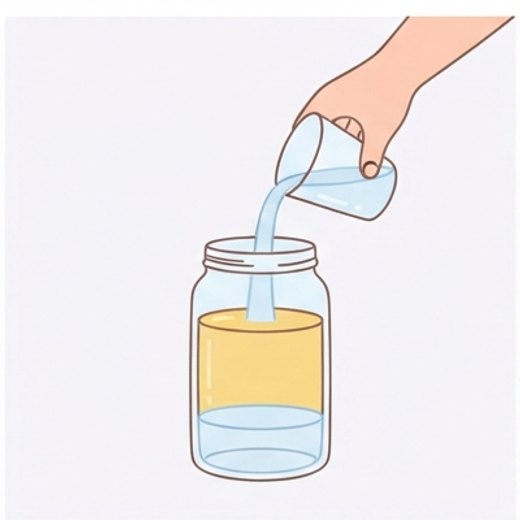
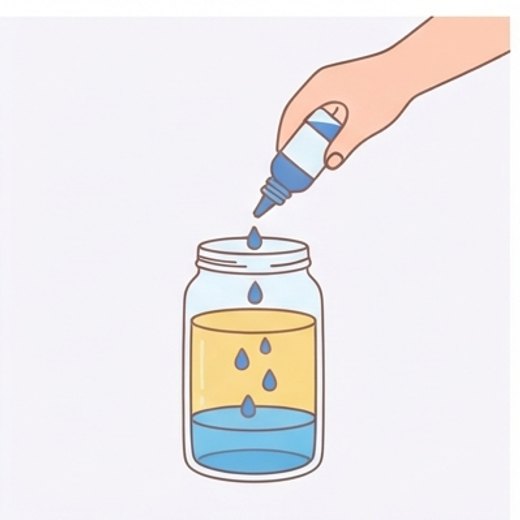
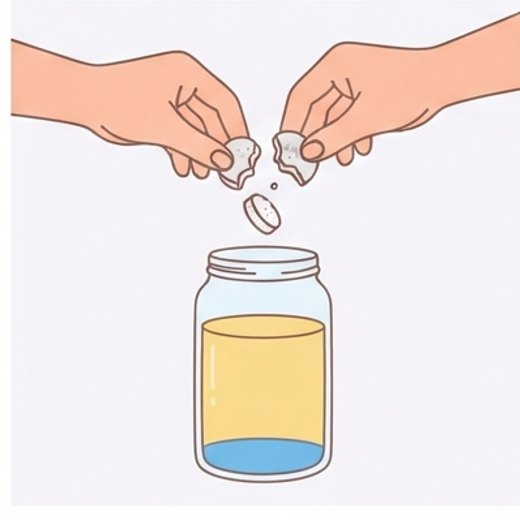
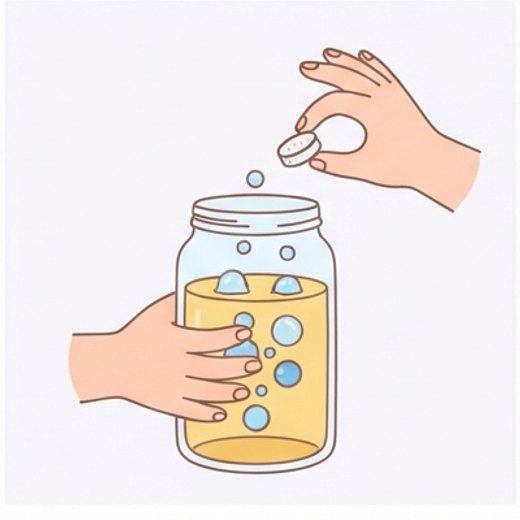


What happens: Colored blobs rise to the top, flop over at the surface and sink again.
Why: Water is denser (heavier for its size) than oil, so it stays at the bottom, and the two do not mix. The tablet sinks, dissolves and gives off carbon dioxide gas. The bubbles cling to drops of water and carry them up. At the surface the gas escapes, and the drop sinks again.
Safety: Do not eat the tablets, and keep them away from little ones. Do not drink what is in the jar. Do not pour the oil down the sink: pour it into a bottle with a cap and throw it in the trash. Do not screw the lid on while it is fizzing.
Try next: Shine a flashlight from below, like a real lamp.
Chemistry in the kitchen: what is OK and what is not
The kitchen has ingredients that react with each other safely: baking soda, vinegar, lemon juice, red cabbage, milk. Kids see fizzing, color changes and swirling patterns, and they learn that substances can change into something new. This kind of chemistry needs no complicated chemicals, yet the effect is impressive. For parents it is an easy way to show that science is all around us, not just in a textbook. In the end, the best experiments are the ones that make you wonder and ask questions.
At the same time, keep a clear line between food ingredients and household chemicals. Never mix cleaning products, bleach or anything containing chlorine: it is dangerous. Our experiments use only kitchen ingredients, never household cleaners. Explain to your child that not everything that mixes is safe, and that is exactly why we follow the instructions. This sense of responsibility builds respect for substances and makes kids more careful in the future.
Safety and tidiness
Put an apron on your child and, if needed, safety goggles: foam and splashes can get into eyes. Do the experiment over a tray or in the sink so it is easier to clean up. Agree that nobody eats the results, even when the ingredients are ordinary: mixtures made for an experiment are not food. The only exception is an experiment that says so, like homemade butter made in a clean jar. These are the first steps to understanding that science takes care and precision.
For kids with allergies, check the ingredients of every product. Do not heat mixtures without an adult, and do not leave a child alone with liquids. When you are done, wash hands, and wash the dishes used for the experiment separately from your kitchen dishes. This builds a responsible attitude toward experiments, which later becomes the basis of good lab habits. These first lessons in lab culture will serve your child at school and beyond.
FAQ
Can we taste the result?
Do we need safety goggles?
What should I do if liquid gets in an eye?
Can we mix any foods we like?
Water experiments · Air experiments · Light and color · Sound experiments · Plant experiments · Magnets, forces and motion · Body and senses · Science Experiments for Kids at Home